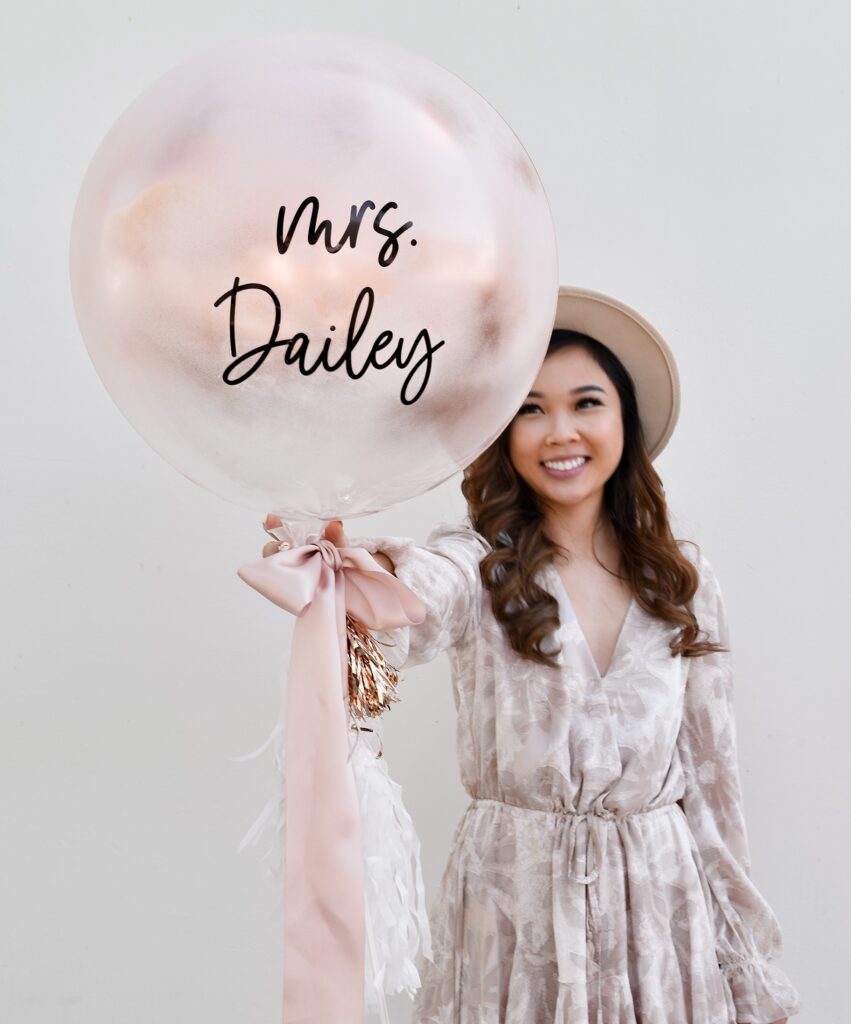
Are you ready for the cutest Do It Yourself idea? Our DIY Spray Paint Balloon is the unique touch you need for your engagement photos. It’s a creative spin on our personalized balloon that everyone will be asking about!
This DIY balloon is perfect for those crafty babes that like to add personal touches to their wedding festivities. You can choose your own spray paint colors, ribbon, tassels, & even blow up your balloon as big or small as you wish. No two balloons will turn out the same so you will have an original masterpiece.
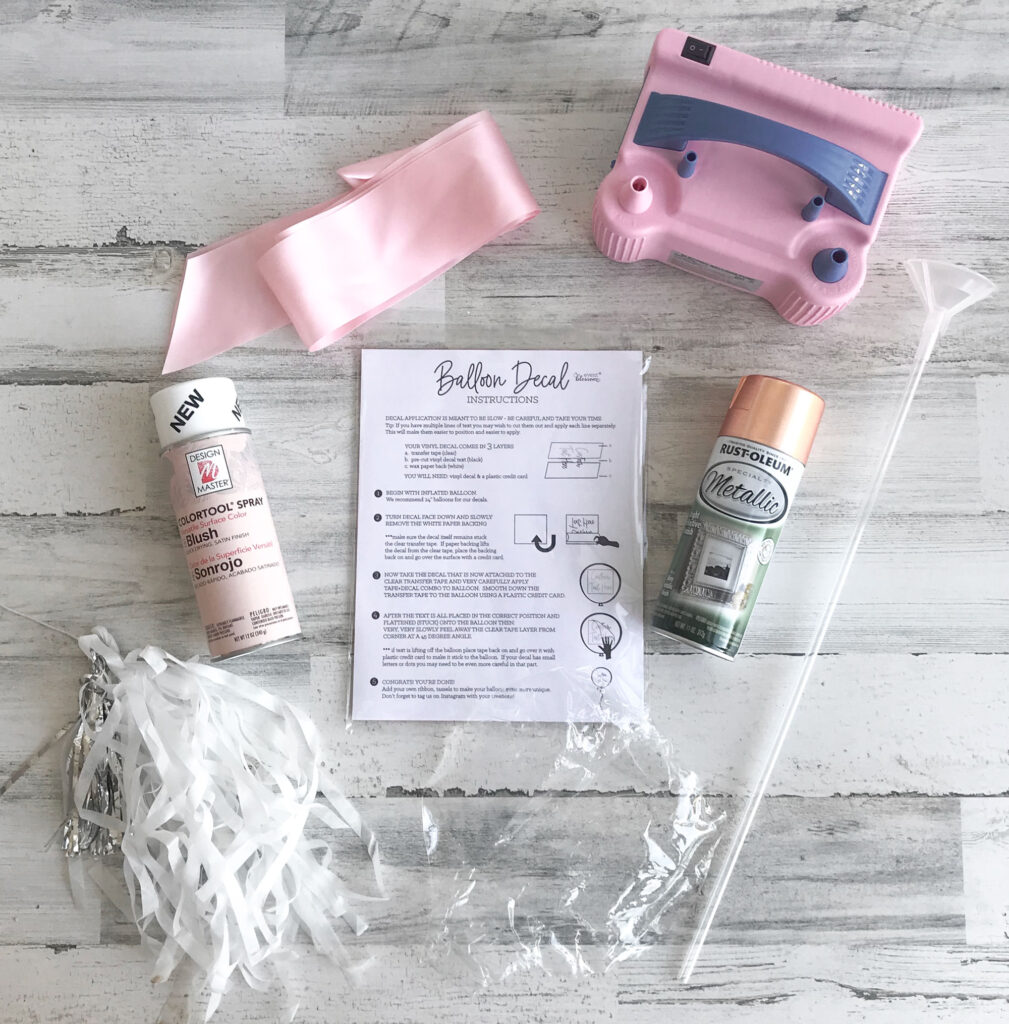
Here’s what we used:
Ribbon (or in our case a blank Bridal Sash)
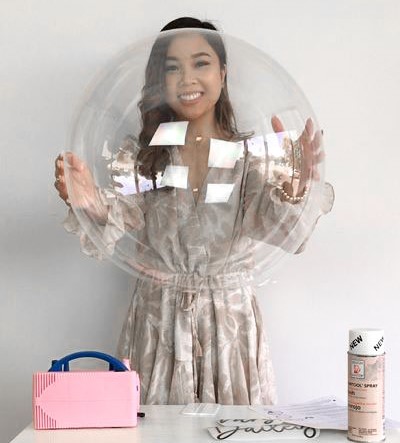
Blowing Up Your Balloon
To start, take your clear balloon and inflate it with air. Our balloons can expand up to 24 inches, so don’t be afraid to go big! You can use a balloon pump like we did here, or you can take it to a party store and inflate it with helium. (Caution: we aren’t sure how spray paint will react to helium since we used a regular air pump for this particular project). Once it’s inflated to your desired size, twist the end and tie in a knot to secure it.
Time to Paint
Now that your balloon is filled, it’s time to get your hands a little dirty with some spray paint! (Hopefully before your new manicure 😉). Since this process can get messy, we recommend going outside in an open space to paint. We decided to go for pink and rose gold spray cans, but you can customize your balloon to fit your own engagement theme!
Go ahead and give your cans a good shake and spray your first color directly onto the balloon. For the best results, we suggest spraying from at least a foot away – don’t get too close as we did notice the plastic balloon did warp a little in areas where we got too close with the paint sprayer. This is when you can let your creativity flow and add as much or as little color as you want. Once you are happy with the first color, then spray your second color to create a splotch effect on your balloon until you reach your desired look.
Finishing Touches
Now that you are done painting your balloon, set it out to dry for a couple of hours. We recommend tying your balloon to a stick so that the paint does not touch any surrounding surfaces. After your balloon is dry, it’s time to get it photoshoot ready! We decorated the stick attached to the balloon with ribbons and tassels to help create the illusion that it is floating in the air.


For the Go-Getter
If you like the look of the balloon as is, you can stop here, or you can add a personalized decal featuring the new Mrs. Last Name for an added touch. If you need information on how to attach your decal to your balloon, we have a full tutorial with tips and tricks on how to do so here. When attaching your decal, be mindful of the paint on the balloon as some can come off when removing the tape. It’s best to use a little less paint on the area you are applying the decal or it will be very difficult to apply. If some parts of the decal don’t stick completely because of the paint not being tacky enough, you can always use a little glue. 📸
We hope you love this DIY balloon idea. Stay tuned for more!