Congrats on your engagement! Now what…? Engagement photos, of course! Like any celebratory life event or milestone, this is the perfect time to plan a photoshoot to capture the excitement and love between you and your partner. While it is important to organize details like the photographer, location(s), and outfits, remember that this process should be fun! Utilize this time to get comfortable planning and practicing how to pose for the wedding day. If you are stuck on what to wear or how to work with the camera, we got you with these 5 tips.
WHEN:
When to take your engagement photos depends on you. If you plan on using these photos for your save-the-date, we suggest planning to meet with your photographer 8+ months in advance of the wedding day. Ideally, this would give you enough time to ensure your photos are edited, printed, and mailed out at just the right moment. Otherwise, the most popular time frames to take the engagement photo will be right after the engagement date or 4-6 months before the wedding date.
WHERE:
To begin planning where you will take your photos, think about these questions: What are your favorite colors? Do you like nature? Or, are you a fan of city life in all its industrial glory? Is there a place that is special to both of you? Your first date location? Your favorite place to spend time together? Maybe, the spot is your towns local coffee shop or your favorite record store? What theme or atmosphere do you want to go for? Beachy? Vintage? Vibrant? If you can’t decide on one place, there is always the option to shoot in multiple locations.
WHAT TO WEAR:
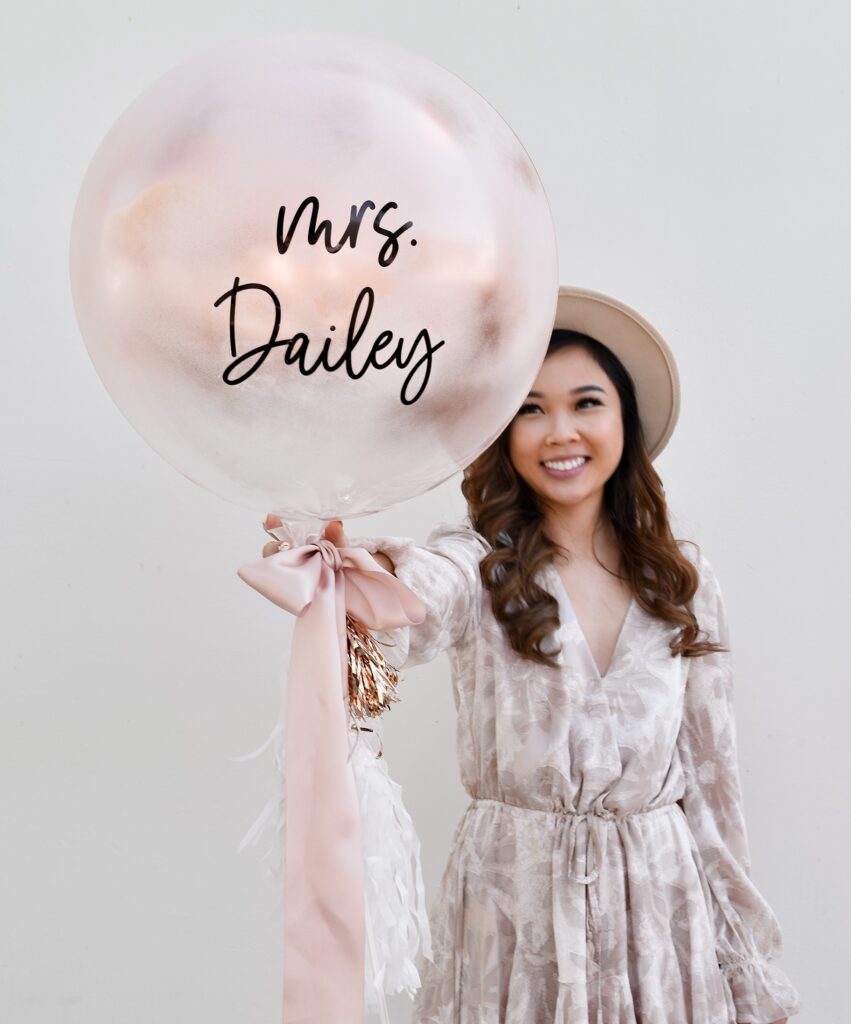
Our favorite part of an engagement photo is… the outfits, of course! This is our most beloved tip we must share with you. Showcasing your future last name or new status is easy when your clothes and accessories do the talking. WeddingFavorites has plenty of options for jackets, hats, purses, and accessories to glam up any outfit you choose. We offer lots of neutral pieces that will add a personal touch without taking away from the stars of the pictures… the newly engaged couple!
Here are some of our favorite customer engagement photos to gain some inspiration from:
1. Minimalistic
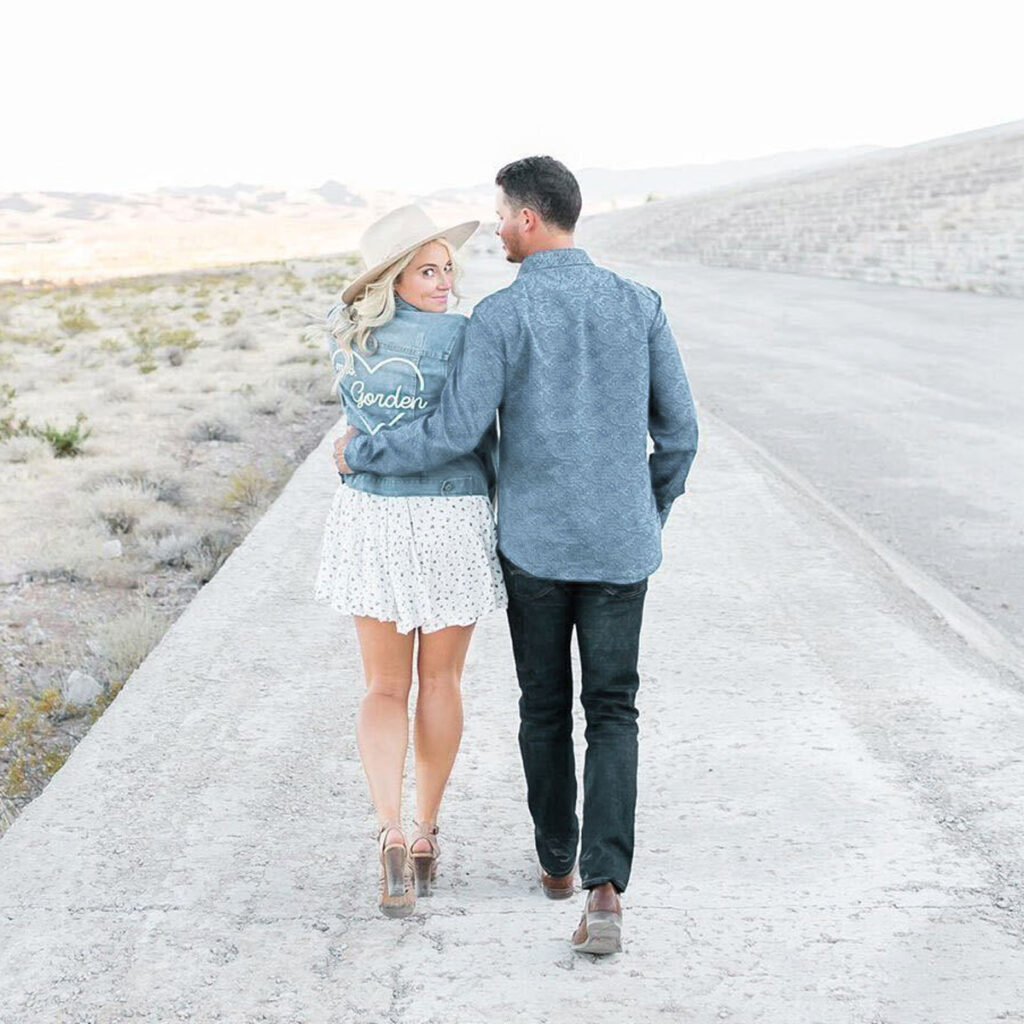
To achieve a minimal & natural background, a desert scape is a great option that creates a shining spotlight on the couple. The stunning future bride is wearing our Personalized Denim Jacket, color matching the future groom. Our denim jacket can be worn with almost any outfit, in this case, it elevates a gorgeous white dress to a chic fashion statement. With minimalism, sometimes less is more. The more relaxed you are, the better your photos will be.
2. Vintage
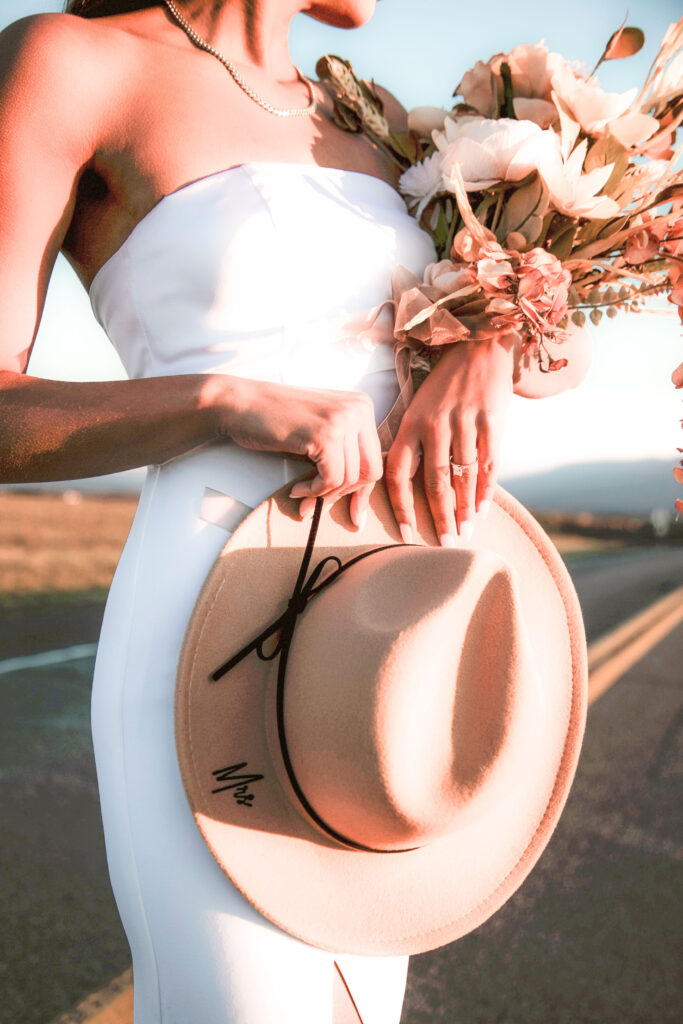
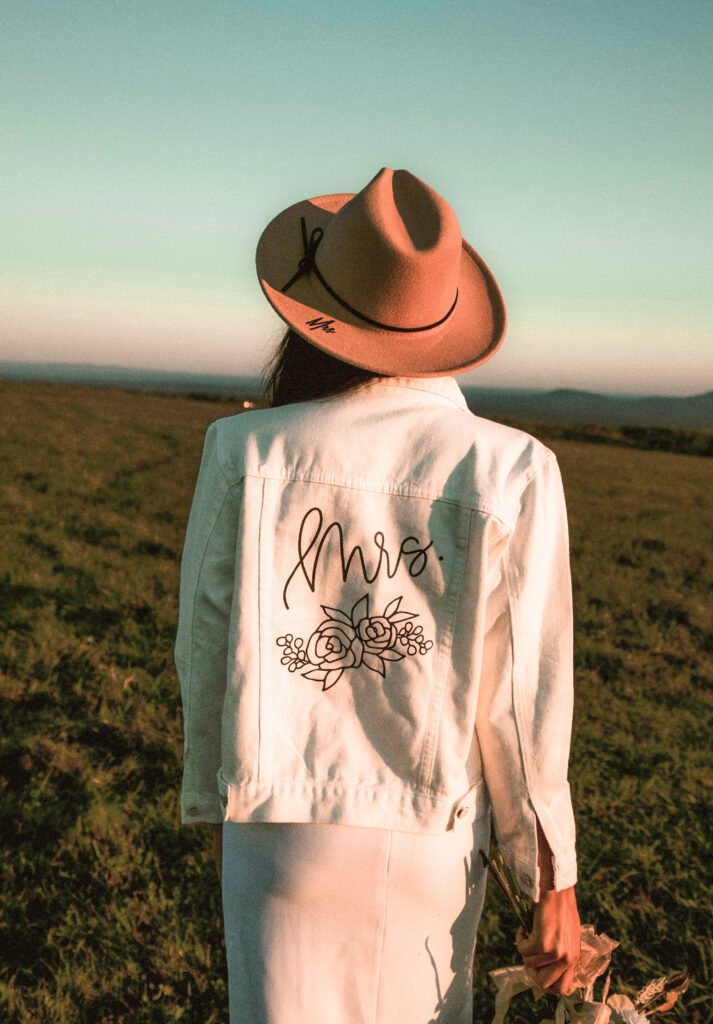

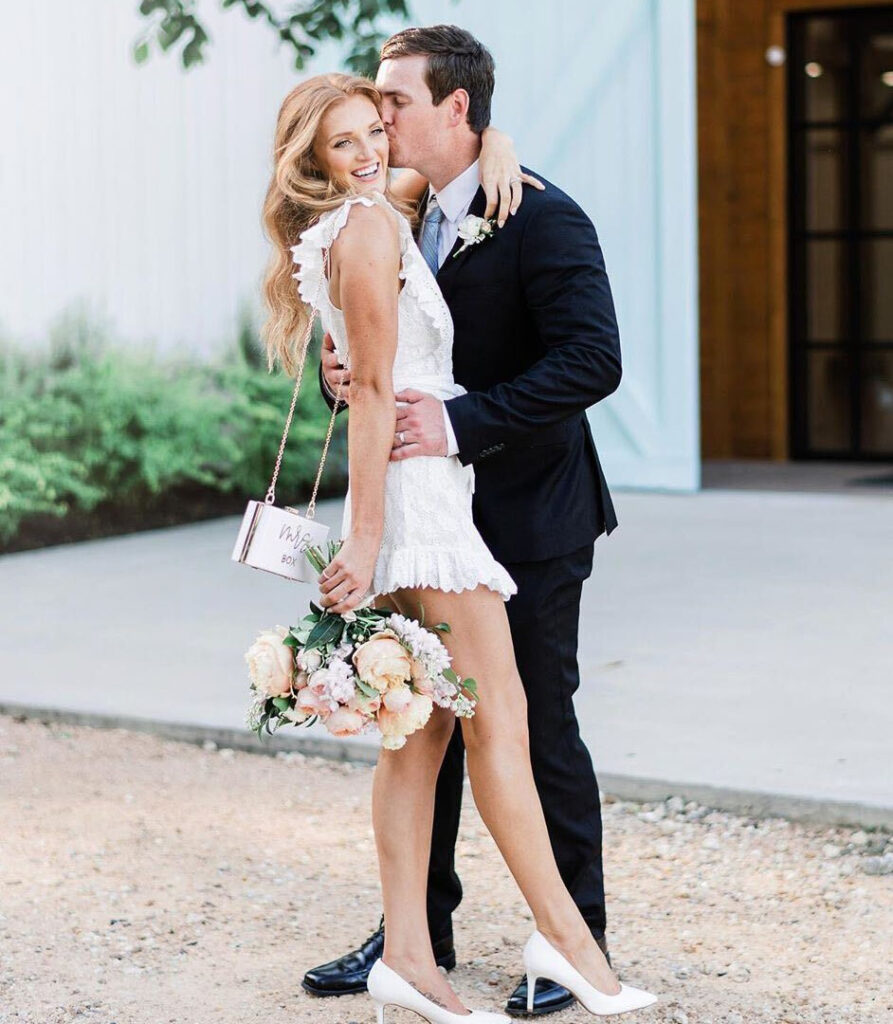
We love high-quality vintage photos! This couple utilized a vintage photo filter in the editing process that was able to tie together multiple elements like their car, flower bouquet, Mrs Jean Jacket, and wrapped up into one beautiful engagement photo. This bride was able to stay classy and relaxed when she let her fashion make the announcement. If you don’t know what to do with your hands, think about holding and wearing our Mrs. Fedora Hat. The placement of her hands on the Fedora naturally guides the eye to the declaration, “Mrs.”, a picture with no caption needed. Taking pictures looking out into the distance away from the camera is a confident and stylish pose we recommend pairing with vintage-style shoots. With super cohesive and on-theme items, the pictures will turn out gorgeous, just like these retro ones.
3. Winter
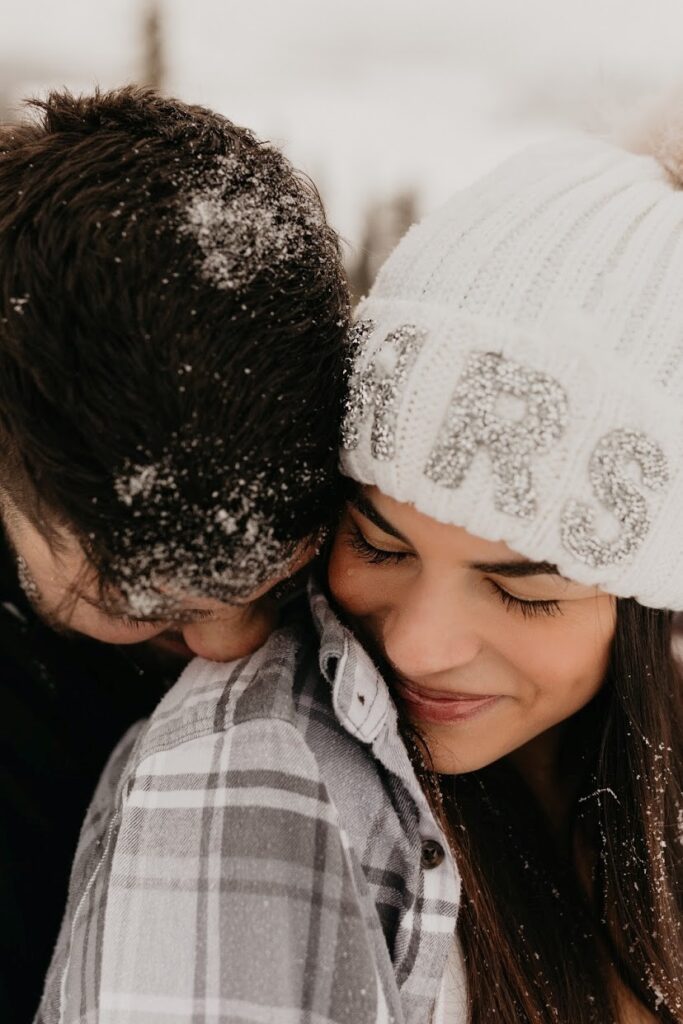
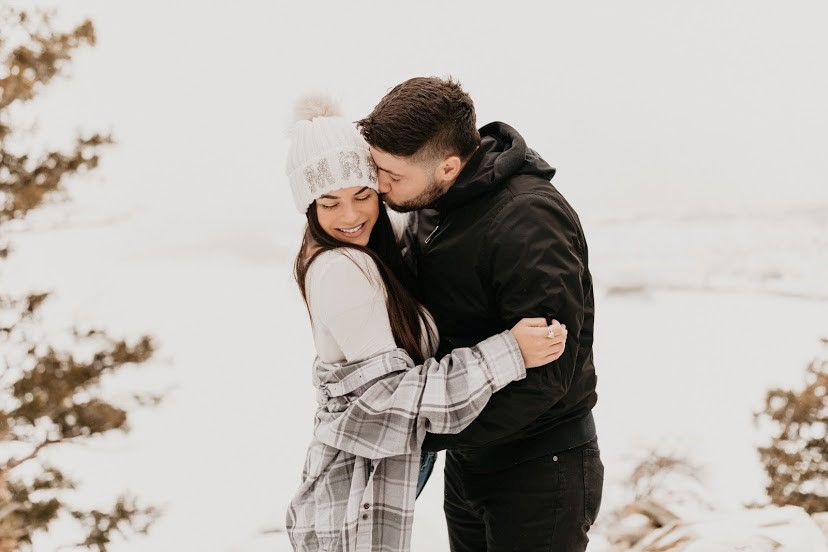
Do you and your significant other enjoy winter, snow, or nature? If so, a snowy photoshoot is a great idea! This couple achieved a clear, contemporary engagement photoshoot by picking a wintery nature scene. Our Sparkly Mrs. Beanie will keep you warm & cozy while showcasing your future title the whole time! Just like this couple, consider switching up poses like warm hugs, gentle nuzzling, or super fun piggyback rides that highlight the natural, loving energy you both share. Our beanies come in several colors, so choose whatever colors you want that will amplify your photos.
4. Classic
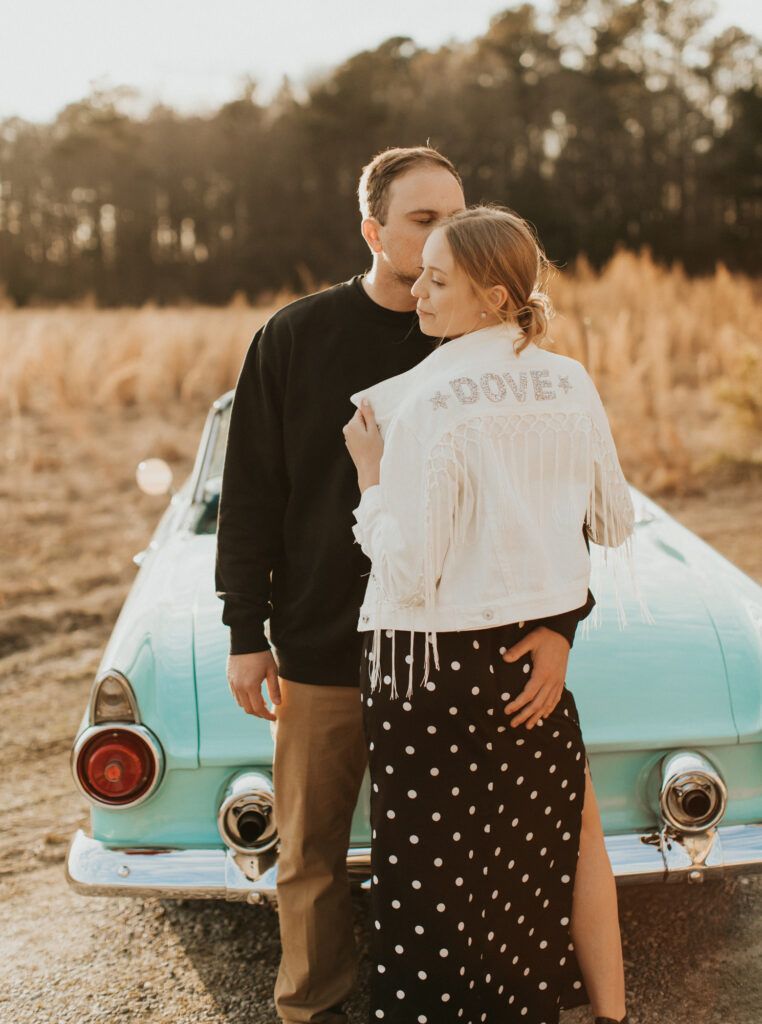
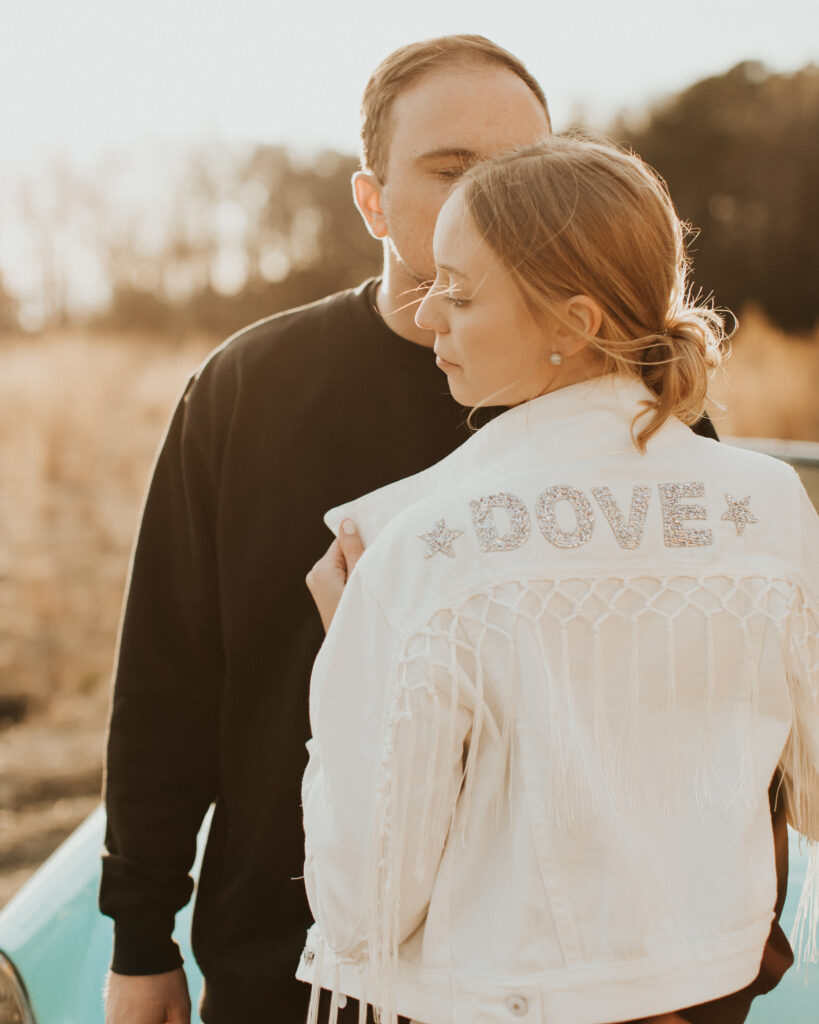
With a pop of color from the teal car, a trendy jacket to display the future-shared-last-name, and a charming pose, this couple pops in these beautifully edited photos. The classic style leans on sepia and browns, which pair incredibly well with our White Sparkly Fringe Jacket. Without words, this jacket clearly communicates this new level of your relationship. Everyone will know that you are engaged and will be excited to see your new last name! The calm and effortless ambiance of these photos makes for great inspo!
5. Beachy
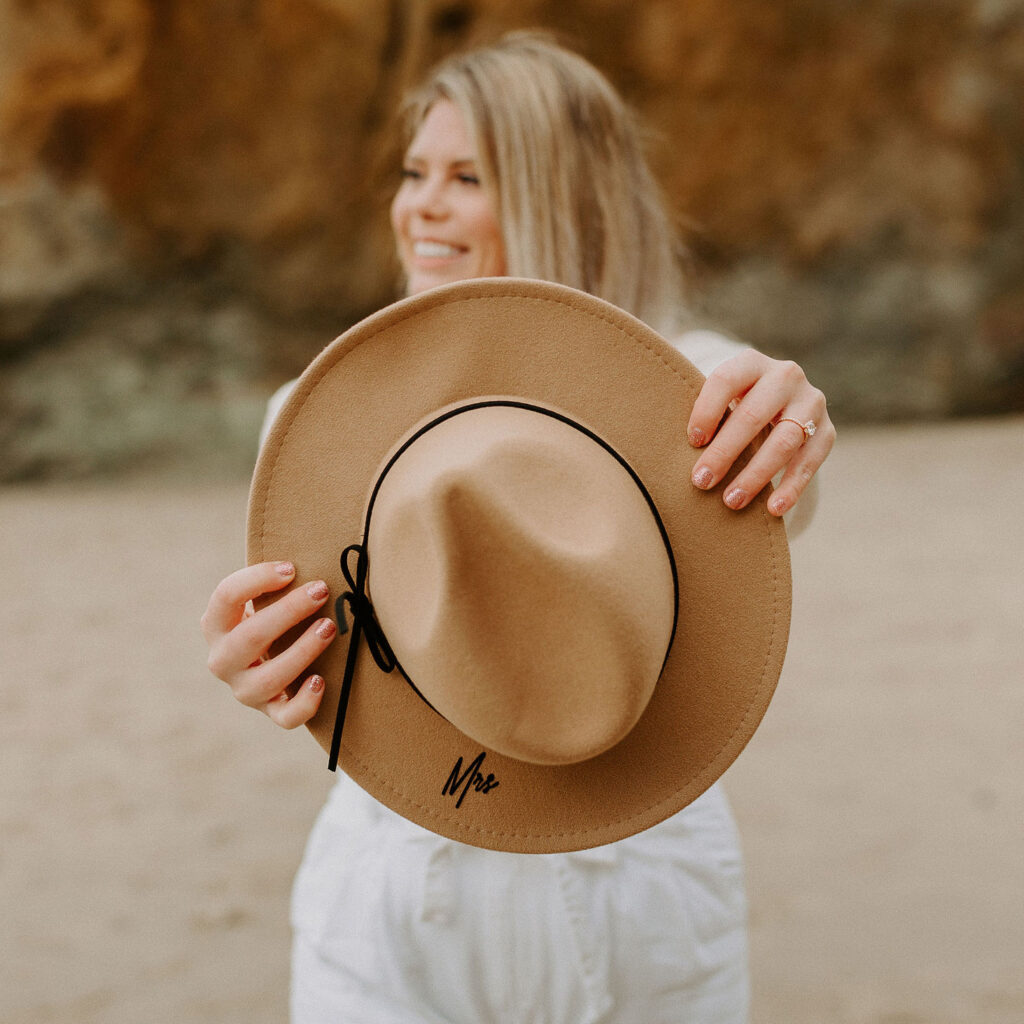
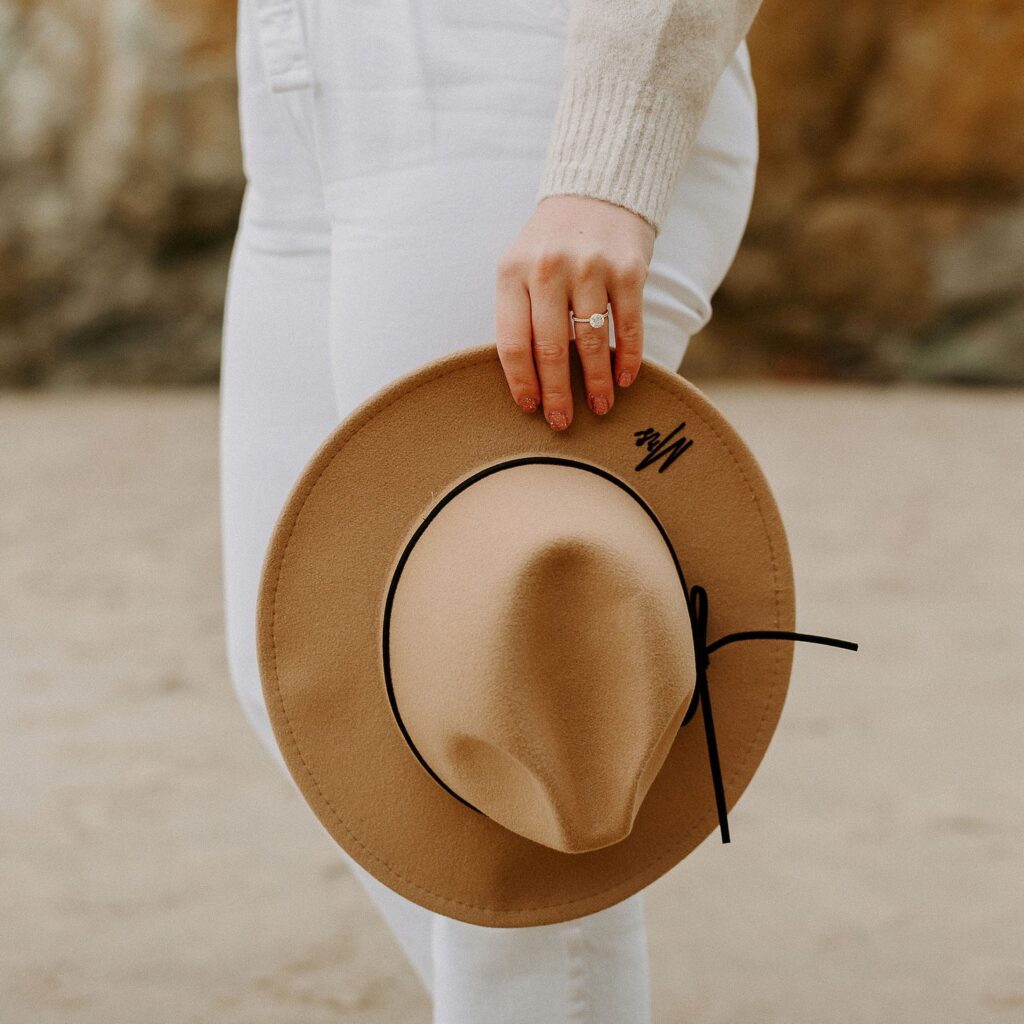
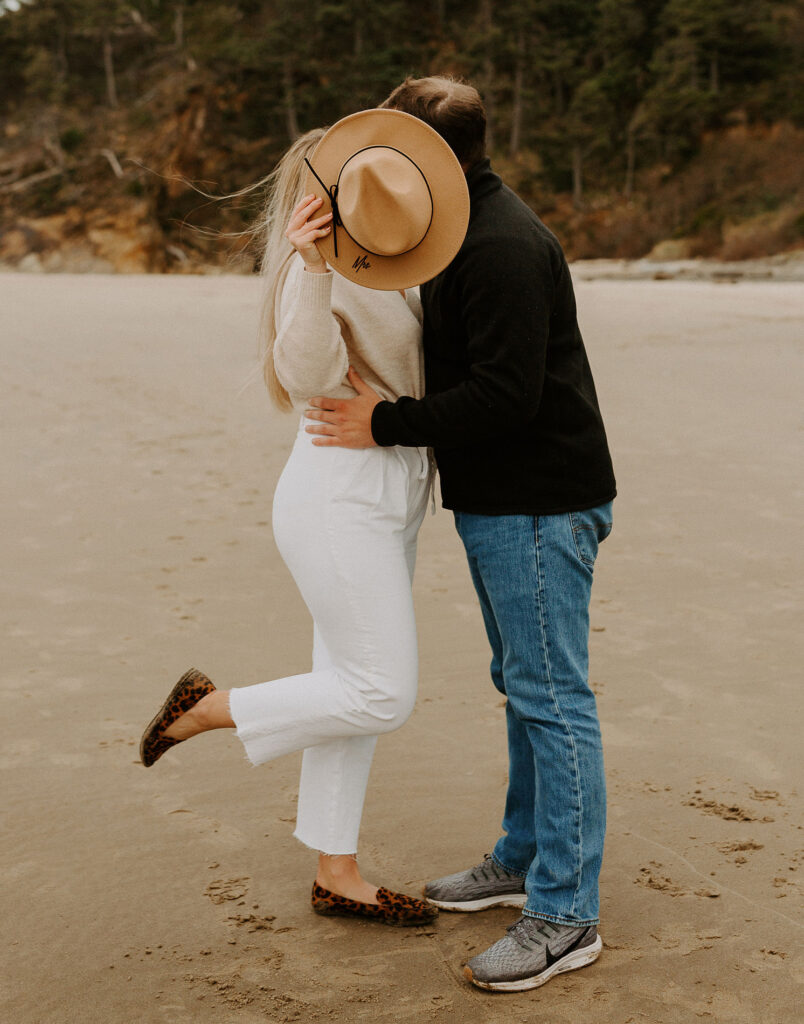
If you live near the beach, you must consider the ocean as an option. Not only will there be impressive scenery, but you can achieve incredible energy in your photos based on the time of day. Early sunrise or mid-sunset are tricky times to achieve but offer a high reward. Who doesn’t want the dramatic colors of a sunset in the background? Girl, that makes for one powerful engagement photo! This bride-to-be opted to engage with our Mrs Fedora Hat in her photos. This hat doubles as a pretty accessory, and a fun prop for your poses. We LOVE their “kissing” pose behind the fedora! It’s a super cute and expressive idea for a couple who might be camera-shy.
Well, there you have it! 5 easy engagement photo ideas to guide and inspire your future photoshoot! Sign-up for our E-mail Newsletter for exclusive weekly wedding tips and inspo. We’ll share special tips, tricks, and good tidbits to help you break down all things bridal in your wedding journey. We are obsessed with all things wedding and love to see how you styled our products. If you use any of our bridal accessories for your engagement photos make sure to tag us @weddingfavorites!
Till next time!