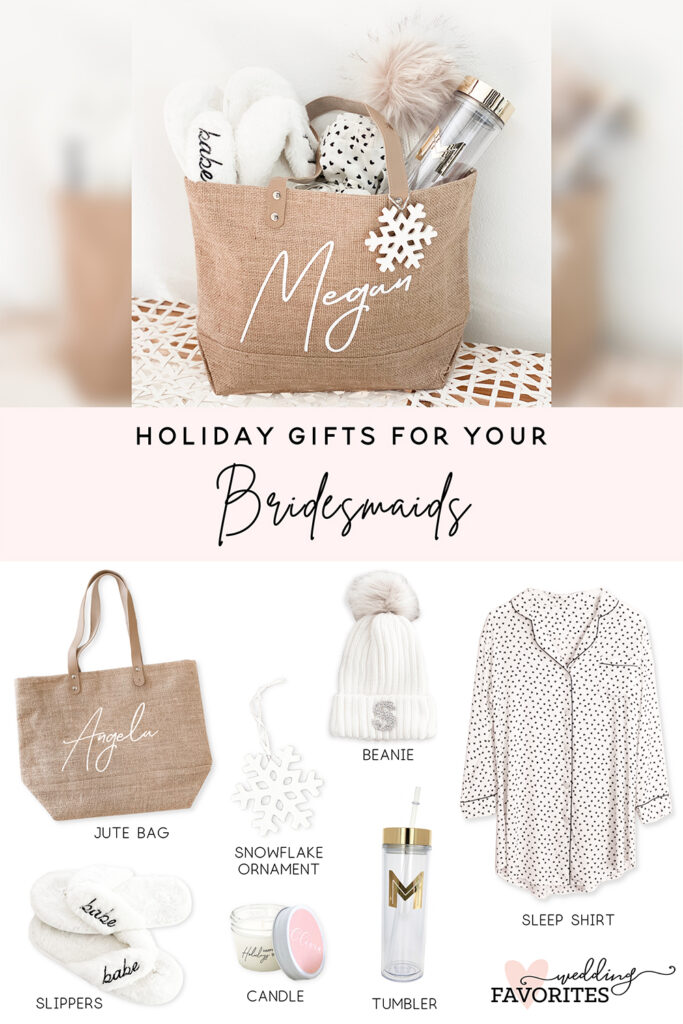
There’s nothing we love more than seeing bridesmaid proposals come to life! Although our signature gift boxes are the perfect way to ask your future bride squad, sometimes it’s fun to switch it up. We came up with a few unique ideas to pop the question without using traditional gift boxes. If that’s what you’re looking for, get ready for inspo because here are our top “out of the gift box” bridesmaid proposal ideas.
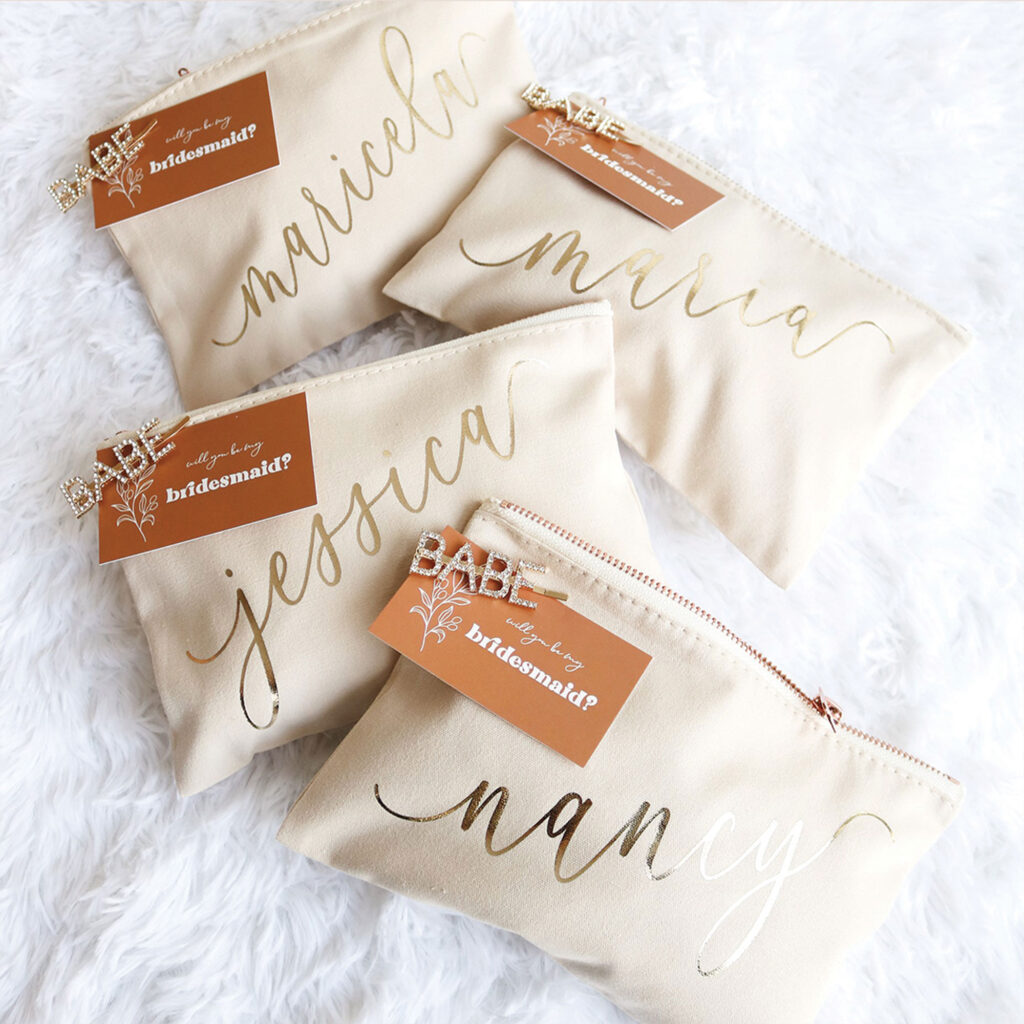
Makeup Bags
Fill up our Personalized Makeup Bags with practical gifts your girls will love! Some goodies to consider including are our Heart Ring Dish, Compact Mirror, Lip Balm, Babe Hair Pin, & Proposal Card. Our proposal bags are a fun and cute way to ask your girls and they can easily carry it in their purse creating the perfect on-the-go bag.
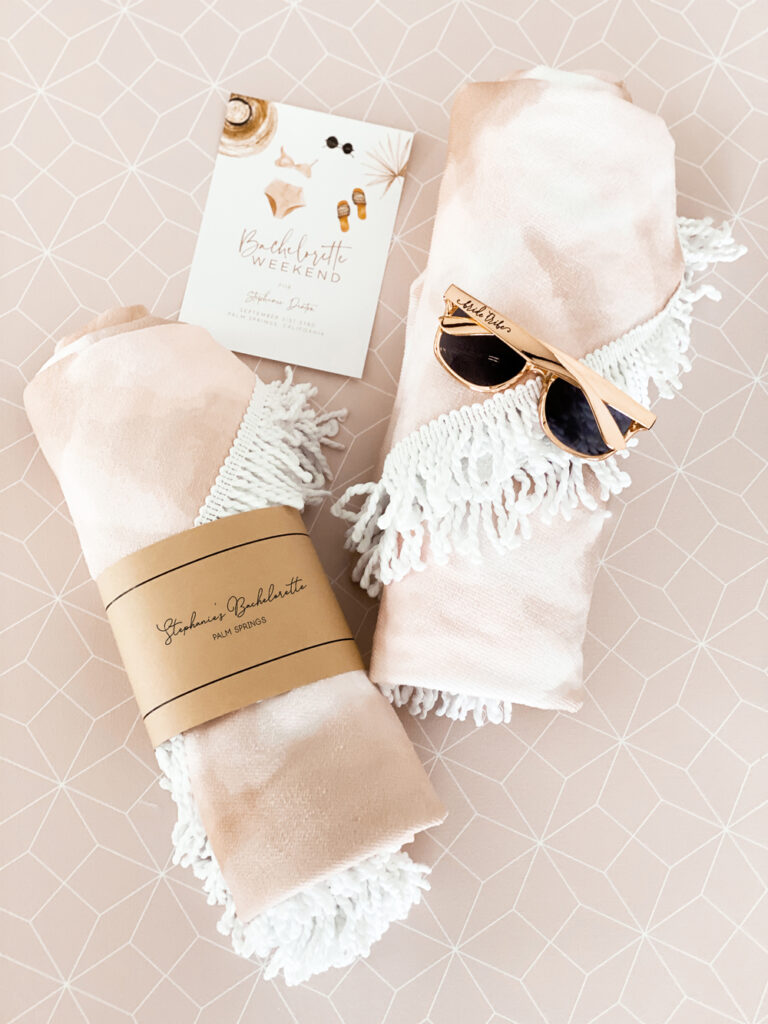
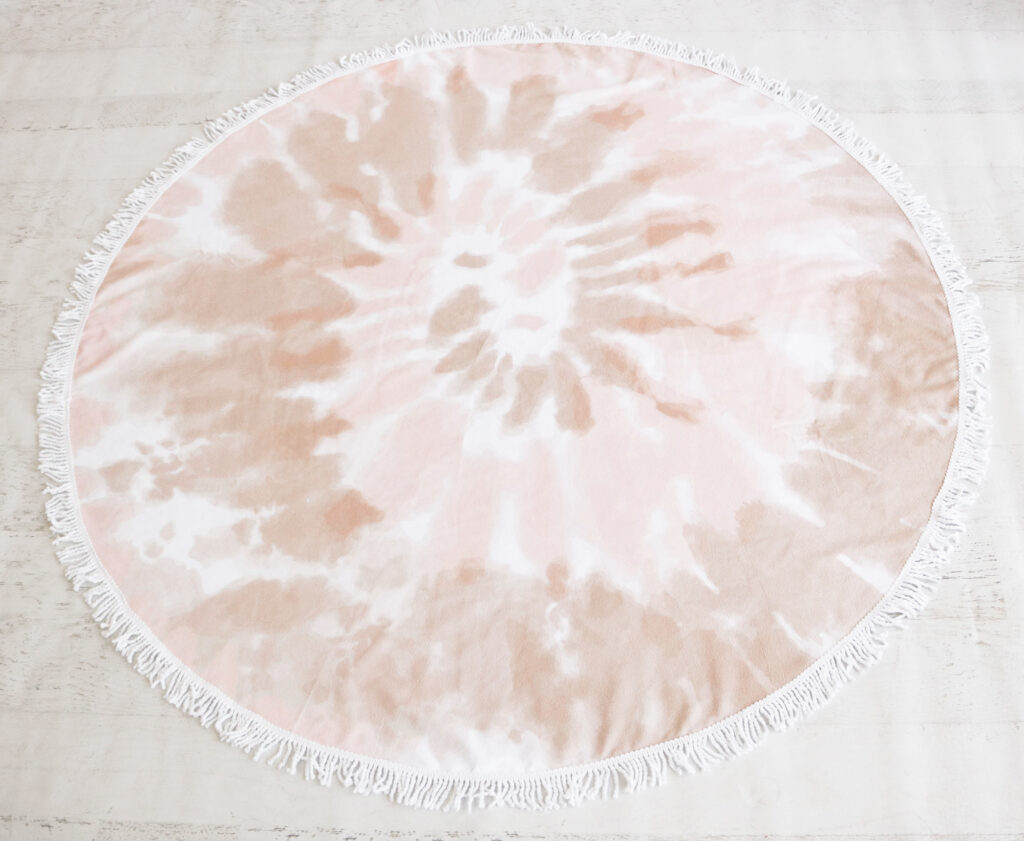
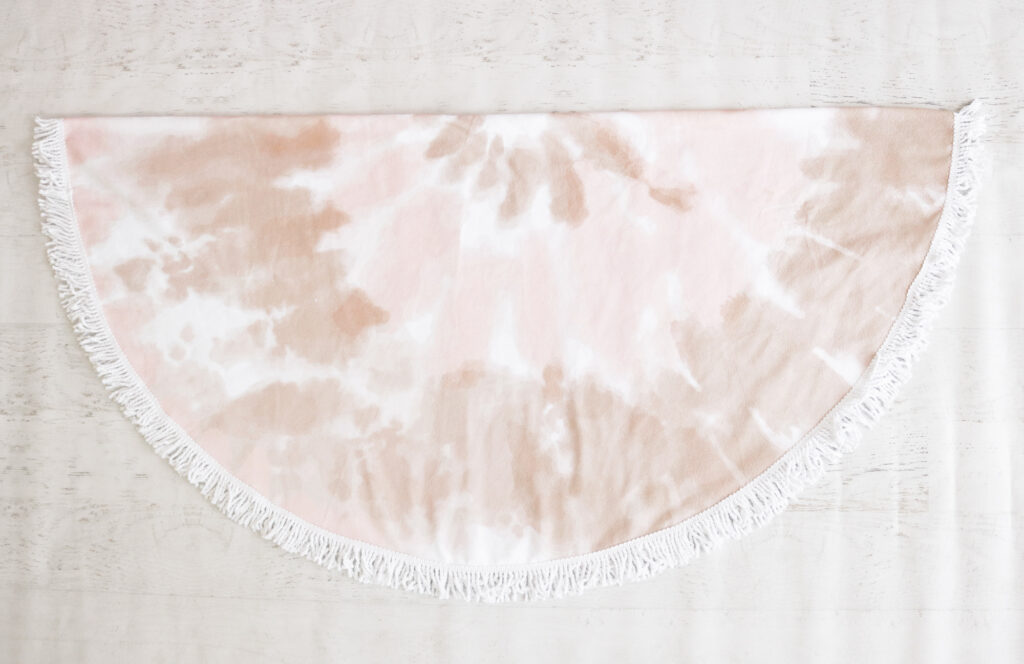
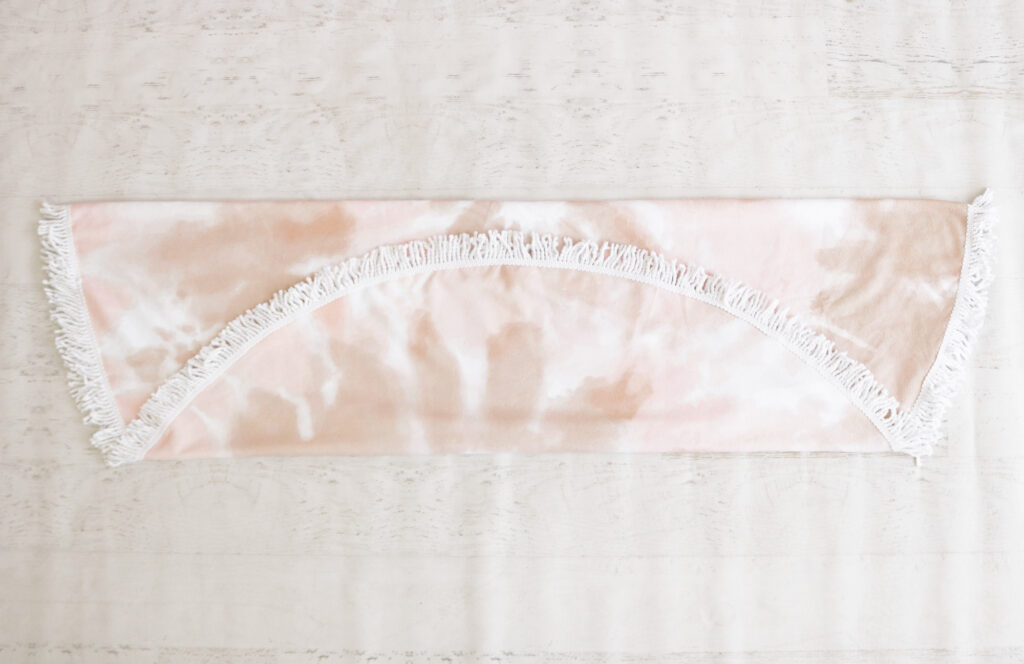
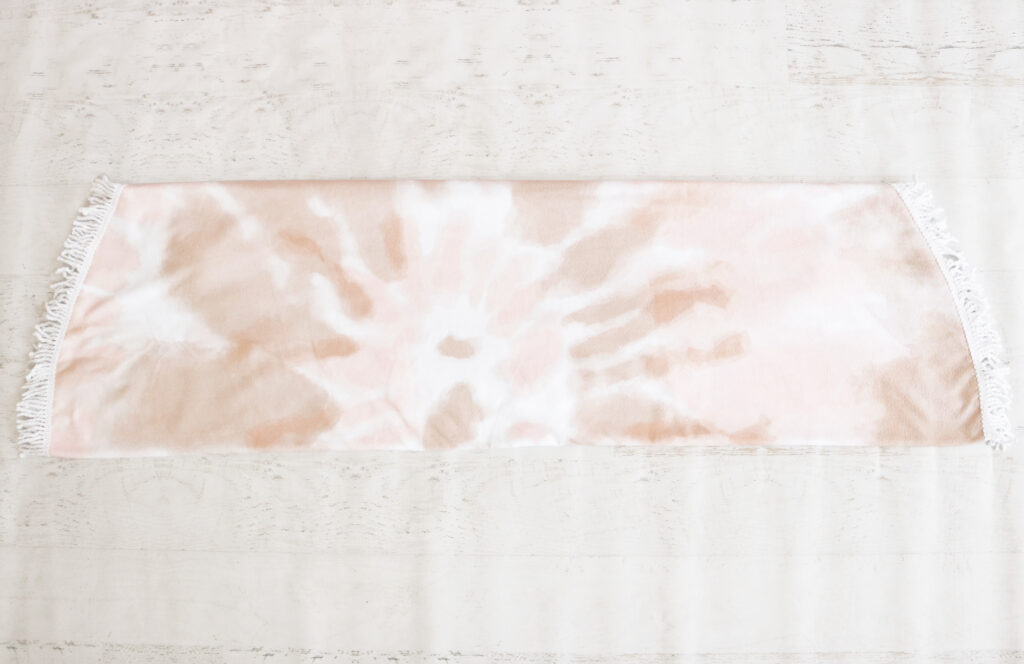
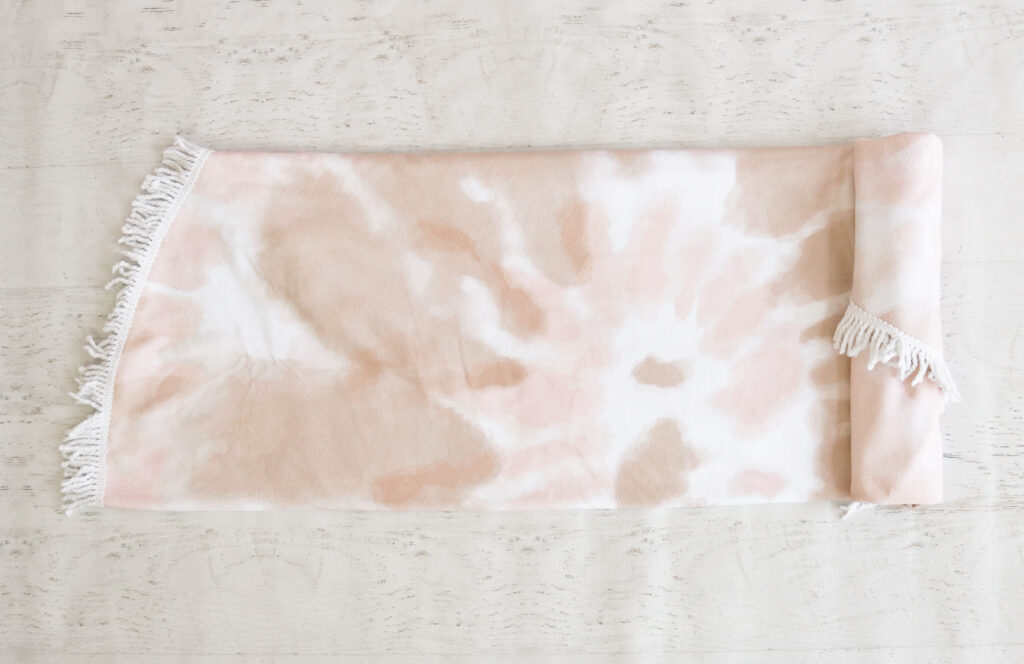
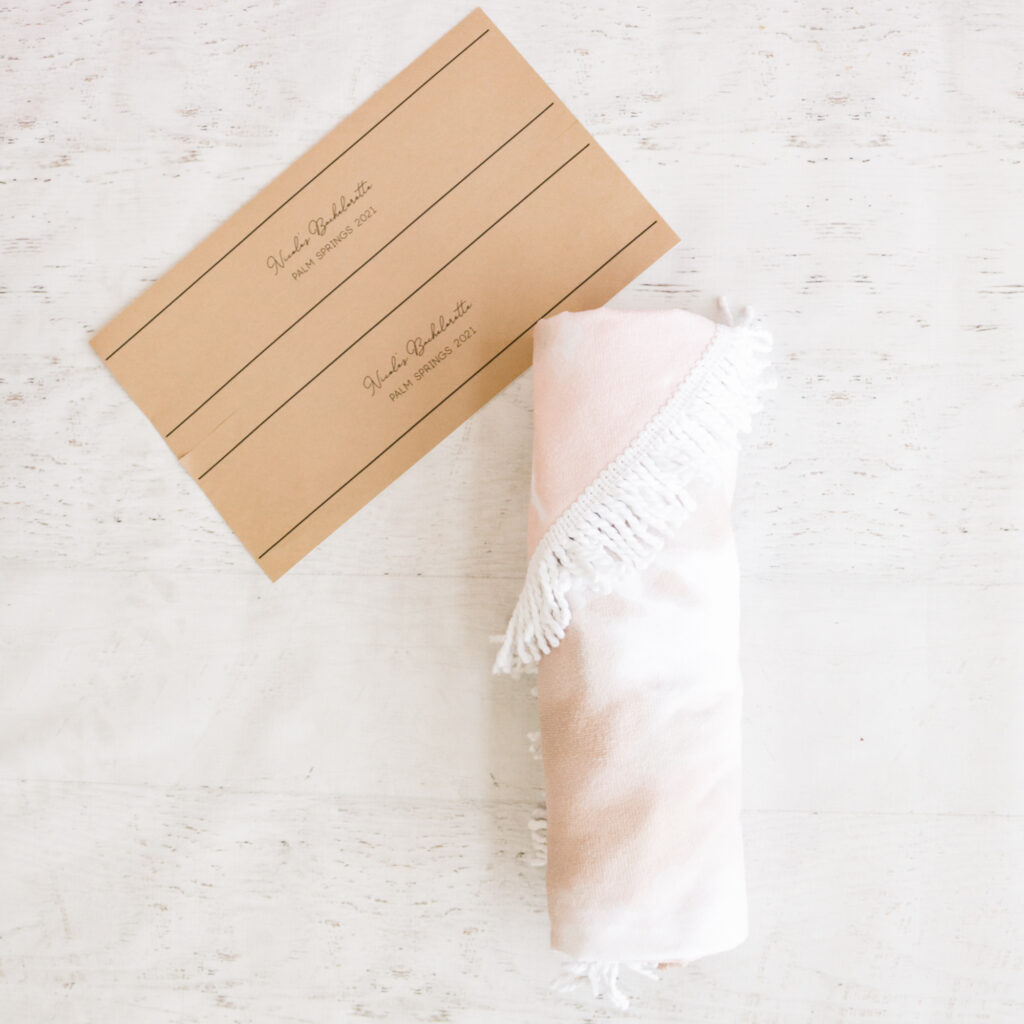
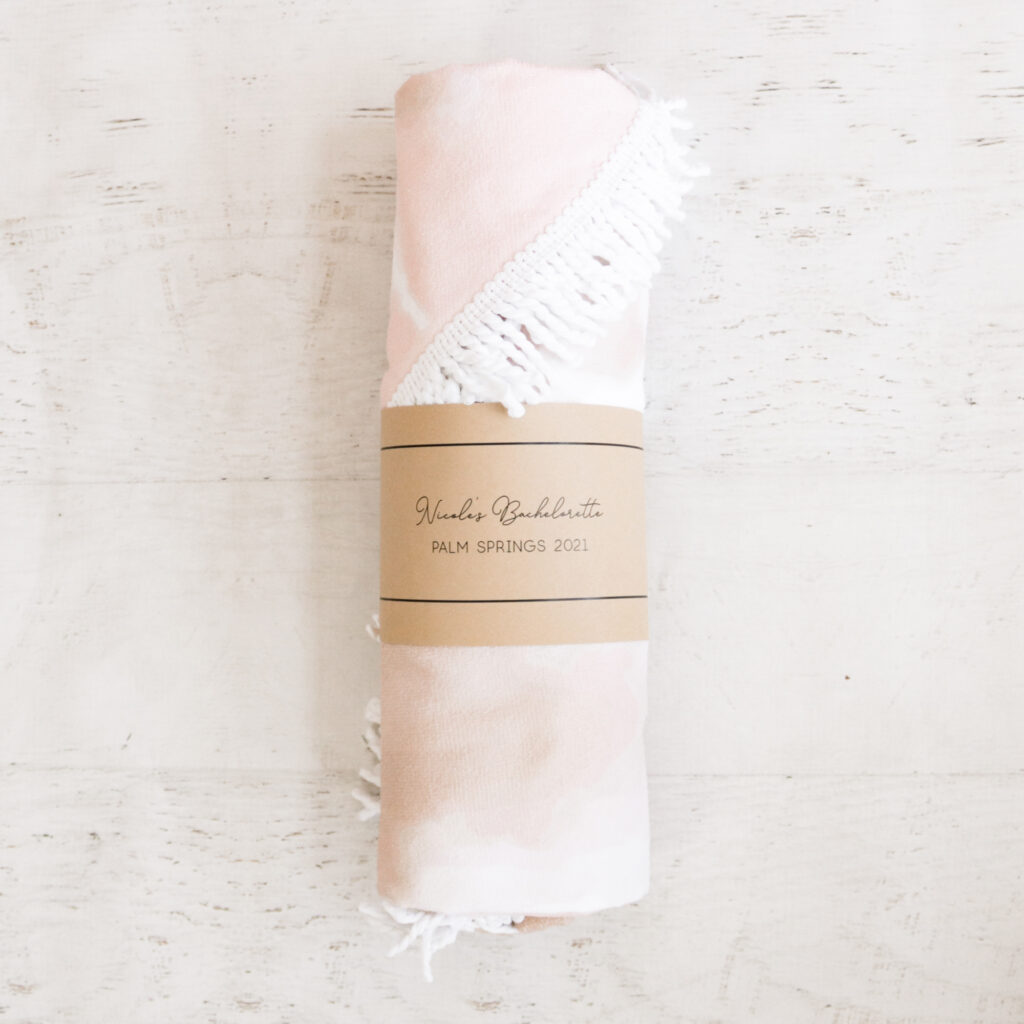
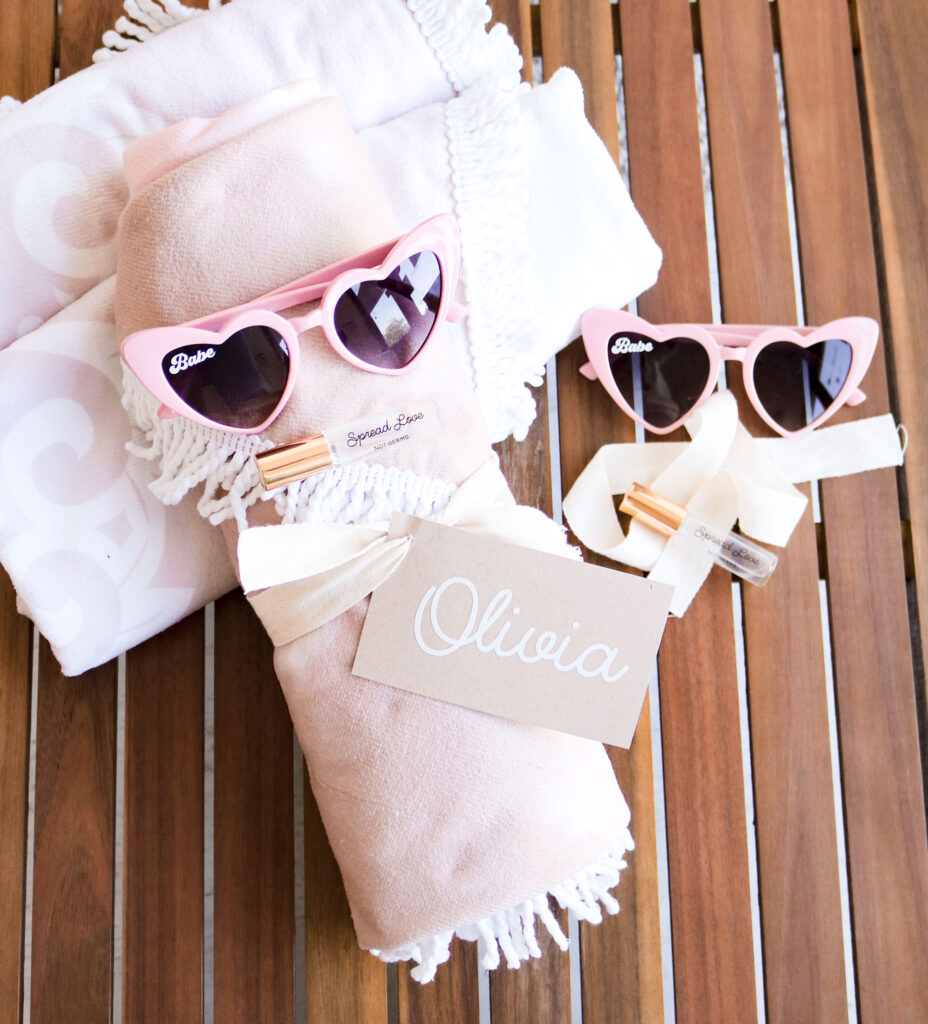
Beach Towel
Planning on proposing to your girls in the summer? We got you covered! This proposal contains all their favorite summertime essentials. All you have to do is fold up our Round Tie Dye Towel, secure it with a ribbon, add a custom tag, and top it off with our Hand Sanitizer Bottle and Heart Sunglasses. The best part is they can use all these gifts for the bachelorette party!
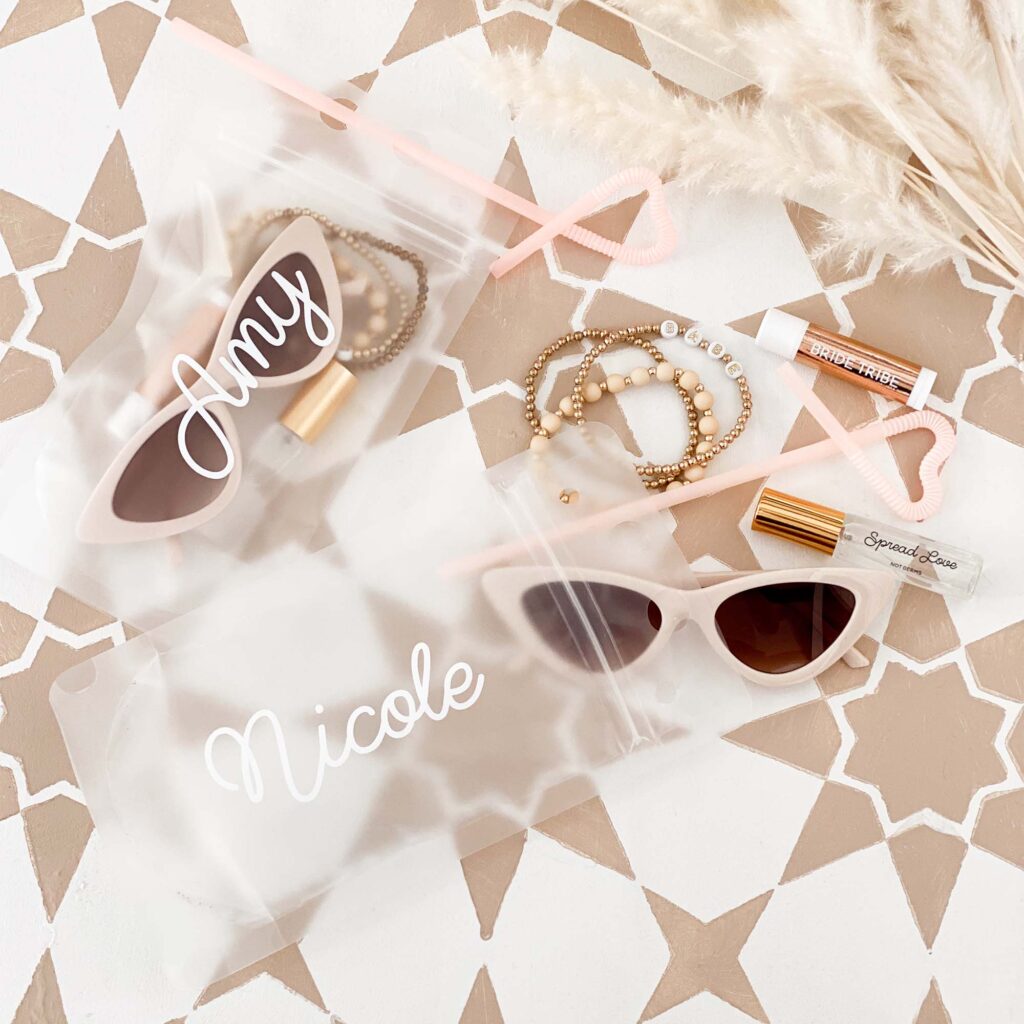
Drink Pouches
Personalized Drink Pouches are one of our best-selling summer gifts! Not only are they a must-have at the bachelorette party, but turning them into a bridesmaid proposal is just as fun! Fill them with our Cateye Sunnies, Lip Balm, Hand Sanitizer, & Beaded Bracelet for a cute & compact way to ask your girls.
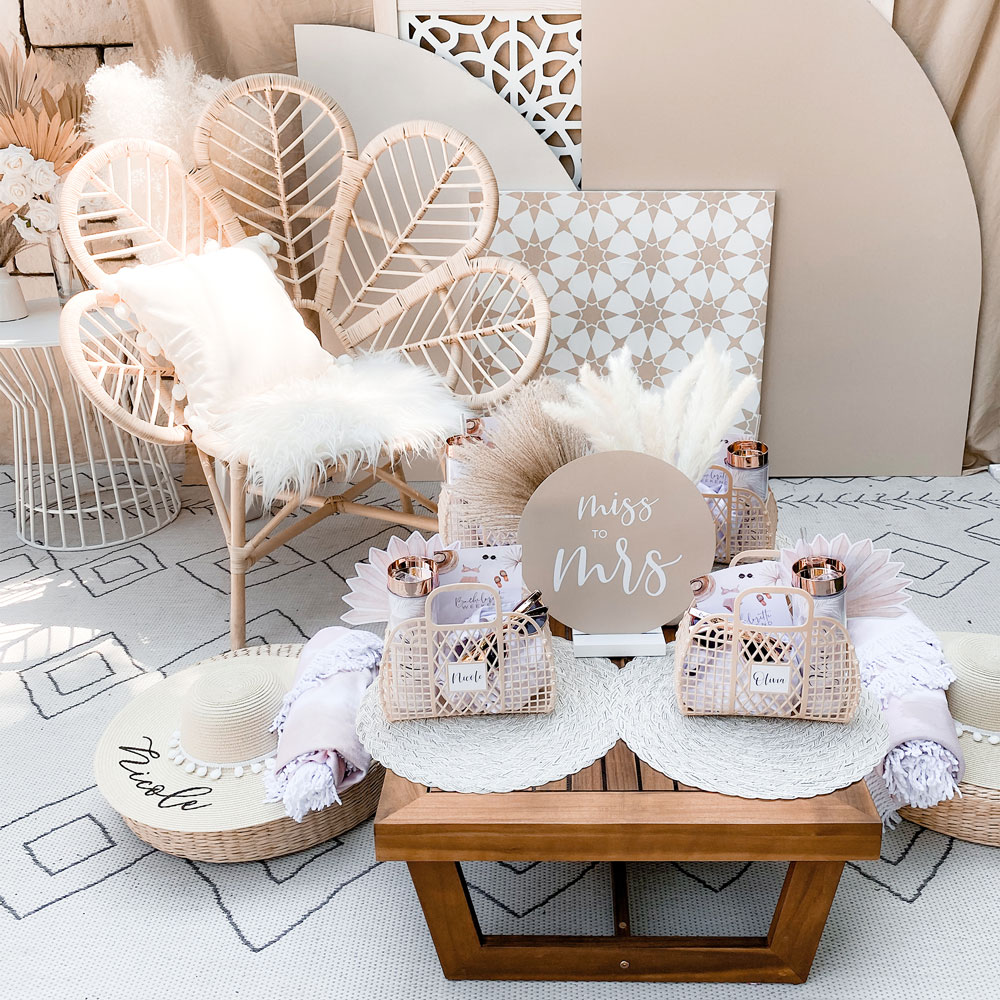
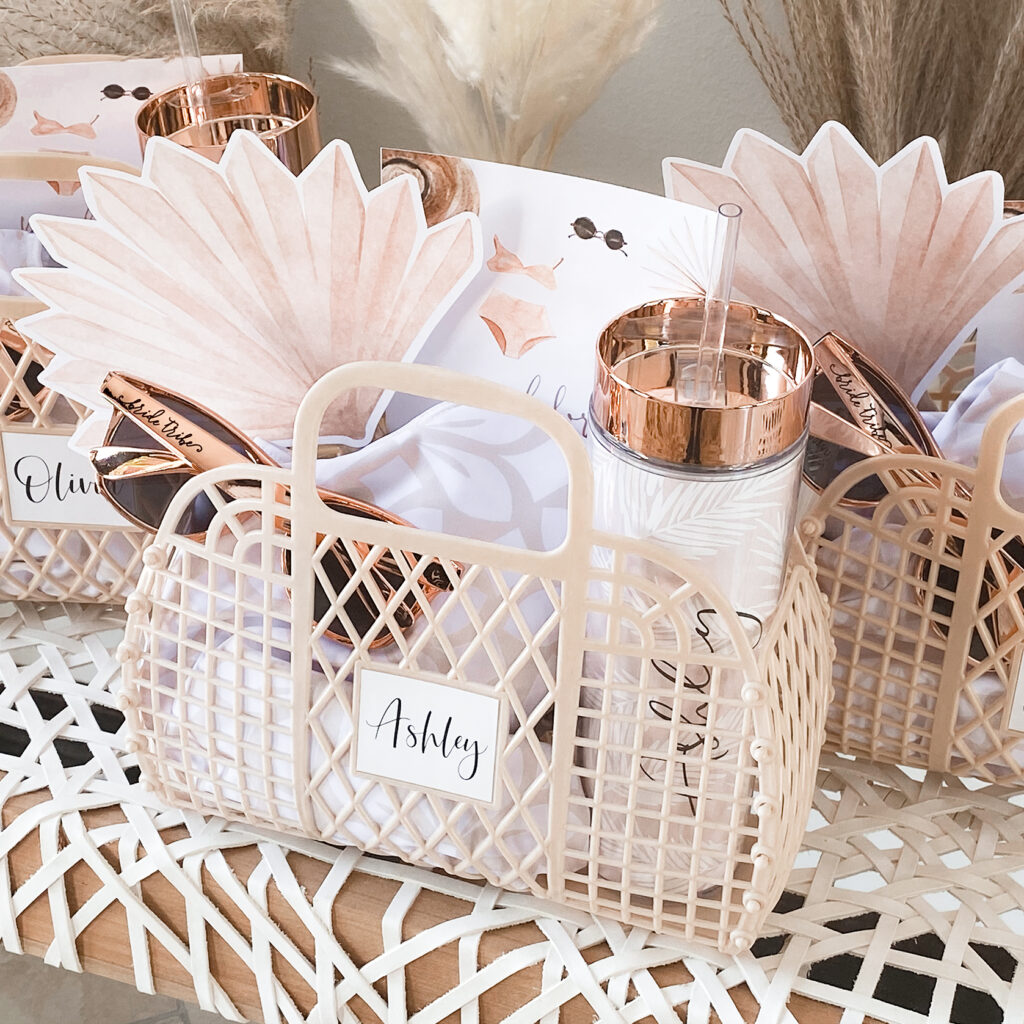
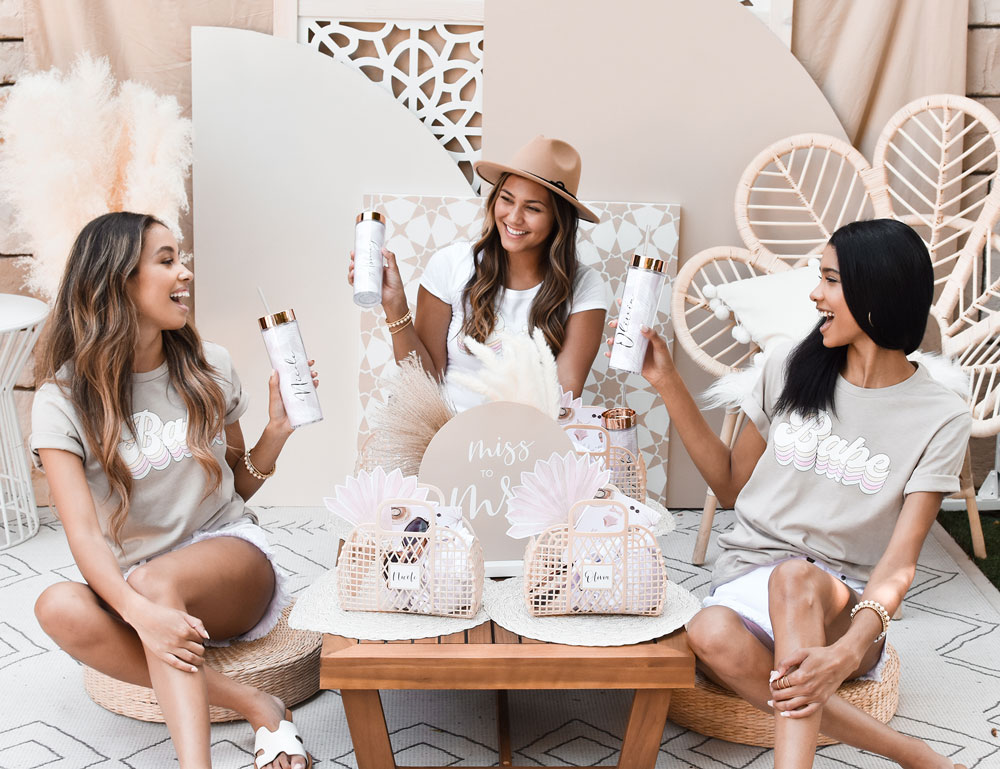
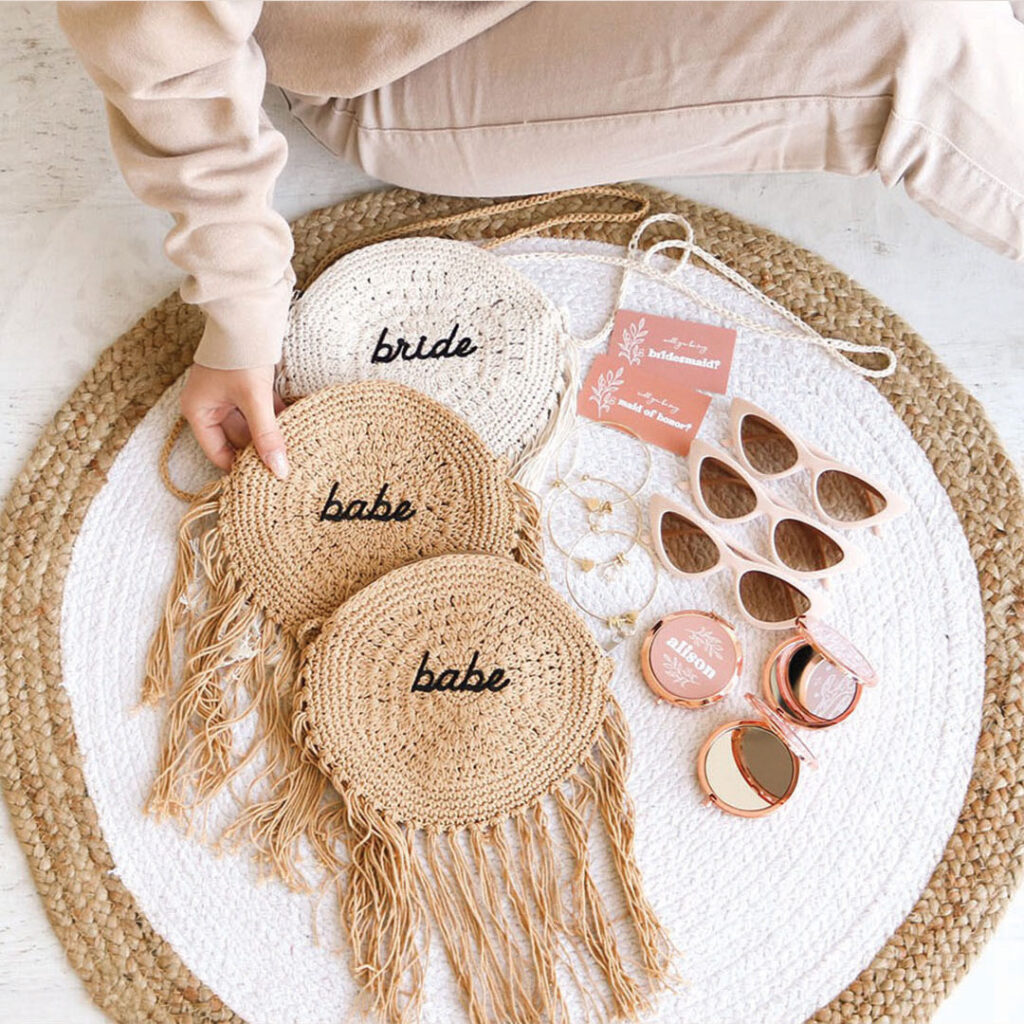
Fringe Purses
A boho way to pop the big question! Add some fringe to your bridesmaid proposals by asking your girls with a gift they will love. Fill our Fringe Purses up with our Cat Eye Sunglasses, Compact Mirrors, Monogram Bracelets, and Bridesmaid Cards to create a cute and fun way to ask your girls to be apart of your big day.
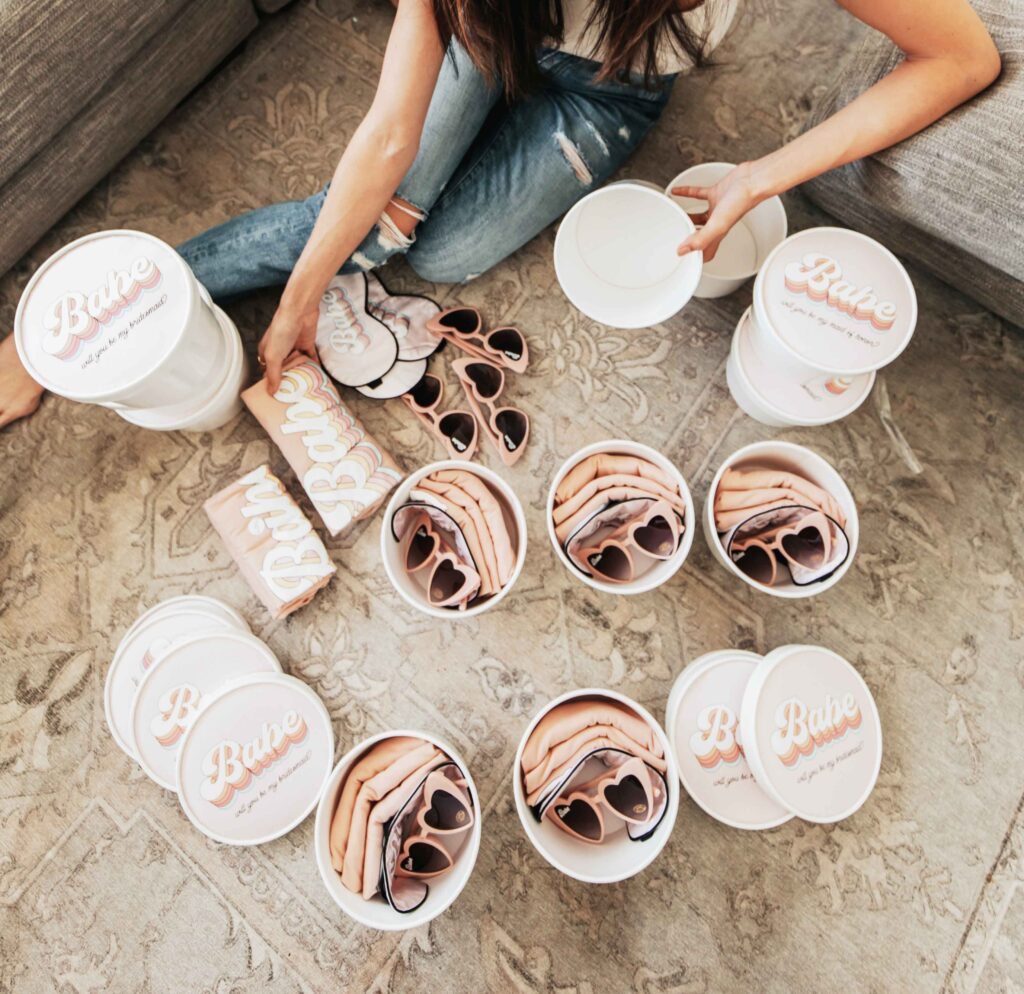
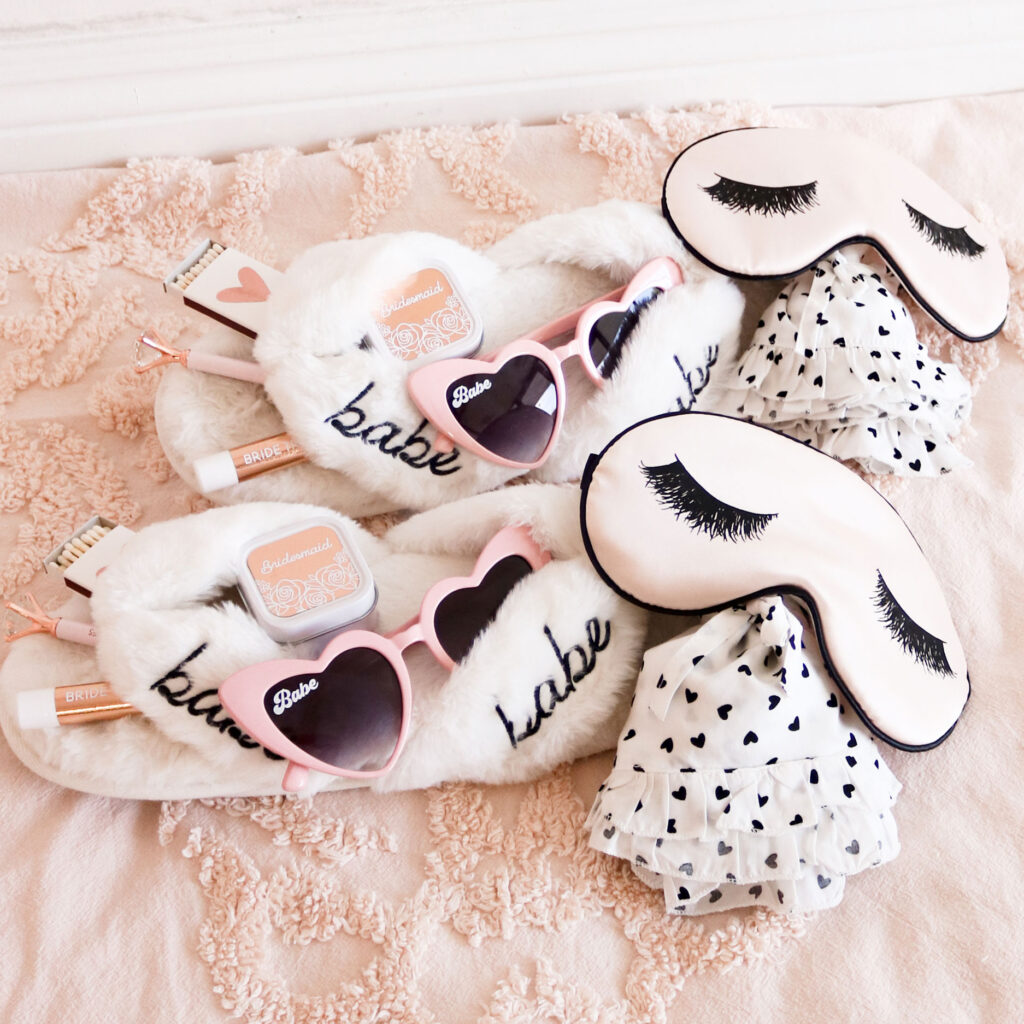
Babe Slippers
If you’re looking to gift your girls something cozy, this gift idea is perfect! Ask your girls to be a part of your I Do Crew with our Babe Slippers, Pajama Shorts, Sleep Mask, Heart Sunglasses, Bridal Candle, Heart Matches, Bride Tribe Lip Balm, and Diamond Pen. How could they say no to this comfy gift?
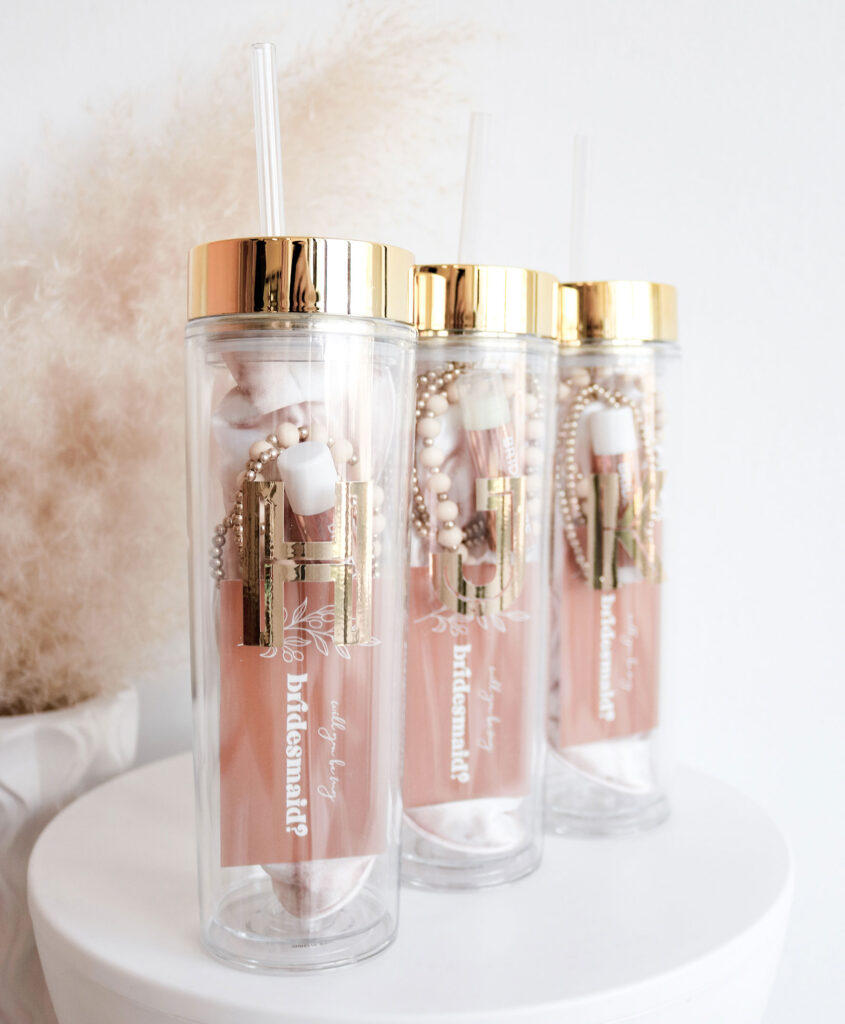
Clear Tumblers
Surprise your girls with a proposal full of practical gifts! Our Monogram Tumblers make the perfect everyday cup, and now they can be used as a fun and creative way to pop the big question. Some items we included inside are our Tie Dye Sleep Mask, Floral Bridesmaid Card, Babe Bracelet, & Bride Tribe Lip Balm.
Share how you propose to your bridesmaids on our Instagram! Just tag @weddingfavorites!